
The fourth in a series of four bootcamps to help you fully leverage your SIPcity Cloud PBX. With SIPcity you can manage your VoIP calling and features from within one simple software application. To get the most out of SIPcity, we’ve created four bootcamps:
- Personalise and Customise
- Manage your Inbound calls
- Manage your Outbound calls
- Understand Advanced Features
In this bootcamp we’re looking at some of the more advanced features and settings available to help you communicate better.
Overview
- Record your calls
- Set up a Conference Call
- Understanding Presence and BLF
- Set your Time Schedules
Record Your Calls
You can set up phone numbers to record both inbound and/or outbound calls. Each number can be set up with call recording independently — you may decide to have call recording on some numbers and not others. For example, you might set up your main phone number with call recording for inbound calls, or record calls for training new team members, quality tracking, or for important calls.
Call Recording Options
- Record all my calls
- Record calls on selected numbers only
- Record calls in both directions (inbound and outbound)
- Record inbound calls only
- Record outbound calls only
- Disable manual recording options
- Send a copy of the recording to my email address (including an alternative email address)
Manual Call Recording Options
If call recording is disabled for a number, a call can still be recorded manually by pressing a few short keys on your handset. This is useful when you want to agree on a verbal contract with a caller, for example. Press a key to start and stop the recording once you have announced to the caller that you will be recording the call.
- When Call Recording is set to on, press #3 to pause a recording
- When Call Recording is set to on, press #4 to resume a recording
- When Call Recording is disabled, press *1 to start or stop a recording
Playback Your Call Recordings
Your call recordings are located against the call billing record.
-
Click into Account from the main menu and you will be taken to the Account Overview page
-
From this page, you can see the summary of calls in the bottom right section
-
Click into any of the call Service Type links (e.g. Local)
-
You can narrow down the date and time of the call by using the Search feature or simply scroll to locate the call
-
Click the Download link in the right “MP3” column
Important: Call recording must be used in a way that complies with the law.
Set up a Conference Call
It’s simple to set up one of your numbers to be used as a destination audio meeting room. This means you provide a number for your callers to dial and everyone invited can be in the same room.
-
Add a number to your account to be used as a conference number
-
Update the setting to “Voice Conferencing enabled on this line”
-
Add a PIN number if you want to
-
Set up whether you want the calls recorded
-
Click Save
You now have a conference number set up. All you need to do now is invite people to your next conference call.
There are additional conference in-call features available. You can set up a private audio conference room so only selected numbers can ever dial in.
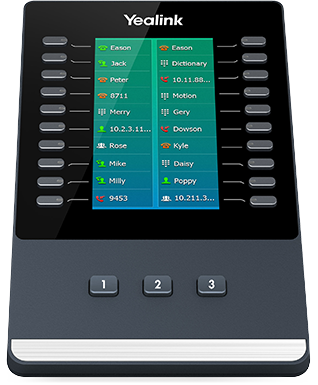
Understanding Presence and Busy Lamp Field (BLF)
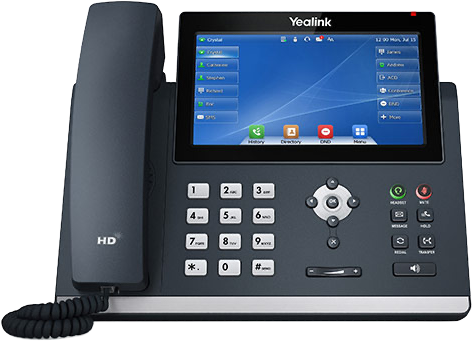
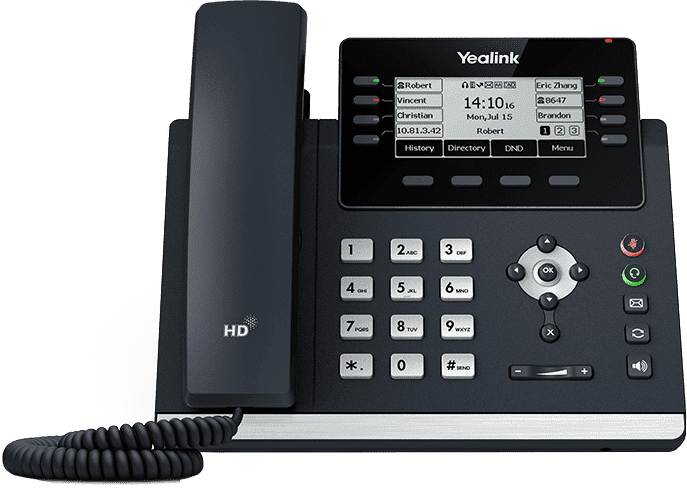
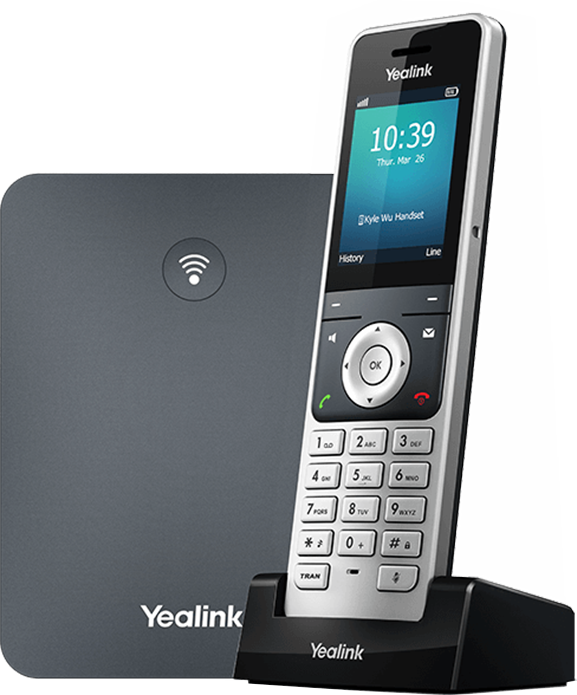
If you are using a Yealink or Polycom handset, Presence and BLF is available as out-of-the-box functionality.
This gives you a visual queue showing whether people are available or not. Green means available, red means they are not.
You can set up your number to enable Presence and BLF. However, you will also need to follow the instructions for setting BLF provided by your handset vendor.
Set Your Time Schedules
This is a useful feature that, once set up, will help direct your incoming calls.
The setting for Time Schedules can be found under the Preferences menu item. You have the following time schedules available:
- Work hours
- Available hours
- User-defined hours
Time Schedules are used in conjunction with other features including:
- Simultaneous Ring
- Call Forwarding
- Hunt Group
- Call Queuing
- Do Not Disturb
- Call Screening options
- Voicemail
- Auto Attendant
Each of these features provides options to set the feature according to the time schedule, ensuring that you never miss a call.