SIPcity Web Portal: Number Settings

Configure calling features, call forwarding, and settings for each SIPcity phone number.
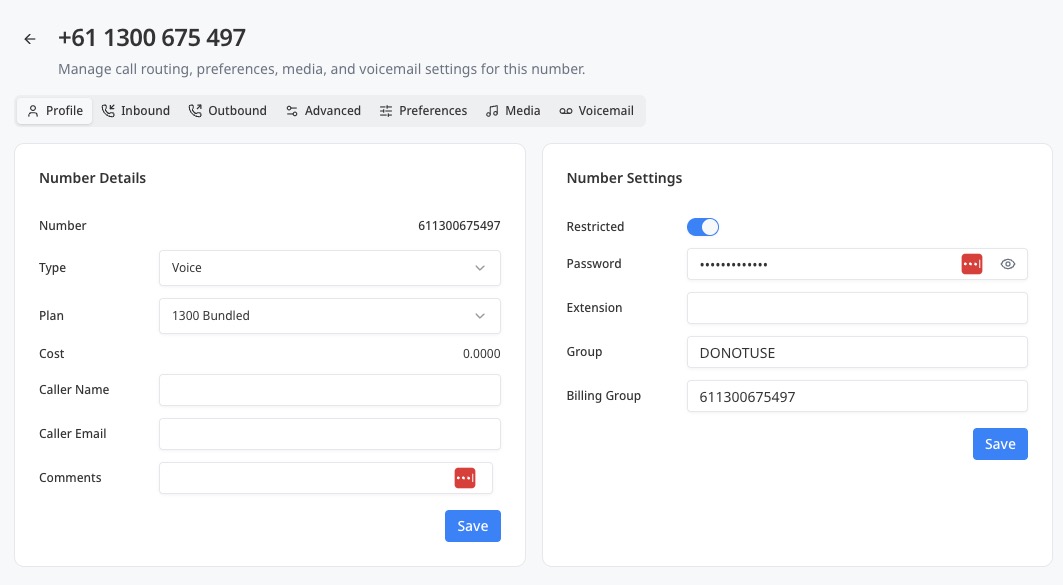
Number settings profile tab
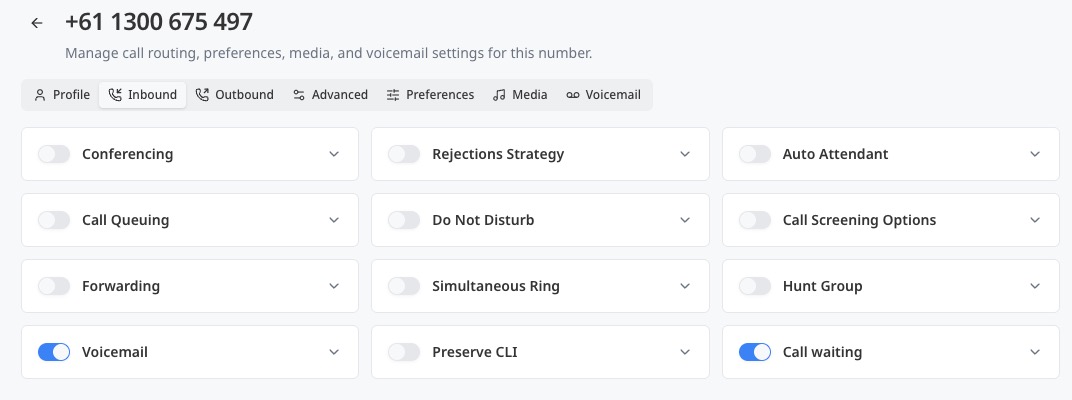
Number settings inbound calling tab
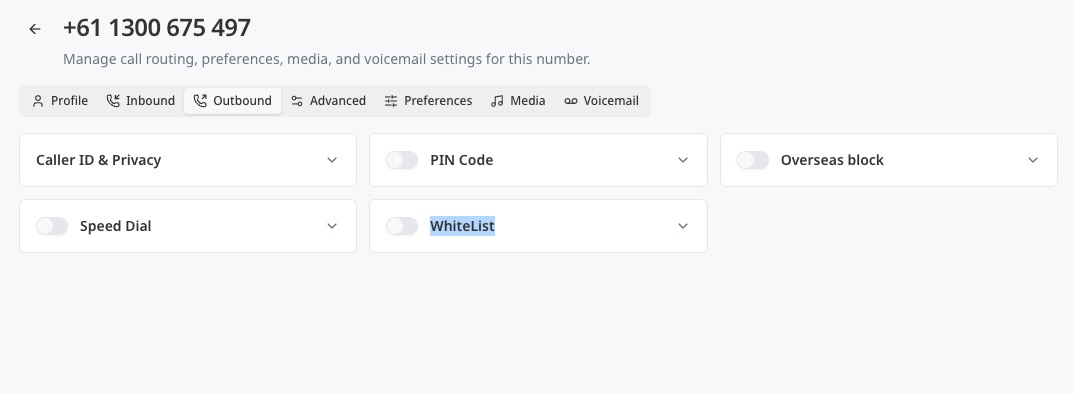
Number settings outbound calling tab
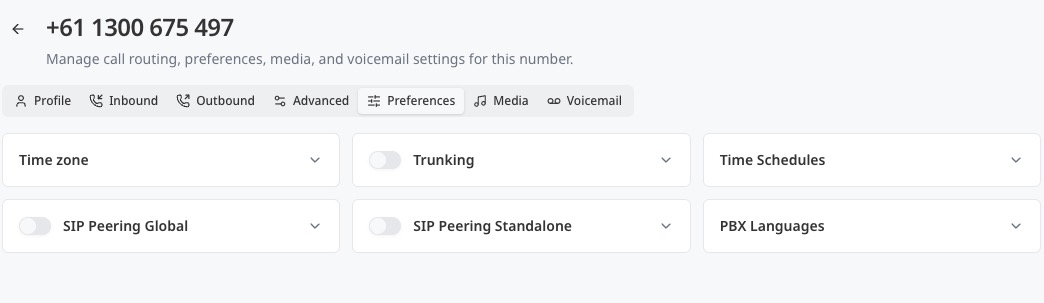
Number settings preferences tab
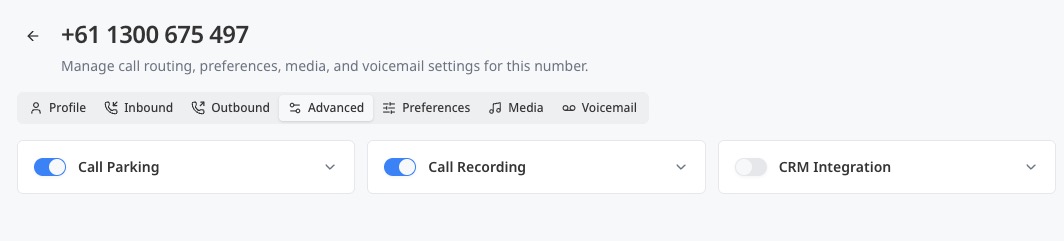
Number settings advanced tab

Selecting a number from the Numbers list opens the settings page for that number. The page header displays the phone number itself, followed by a short line confirming that this page is used to manage call routing, preferences, media, and voicemail settings for the number.

Tabs

A row of tabs across the top of the page provides access to each area of the number’s configuration. These tabs are Profile, Inbound, Outbound, Advanced, Preferences, Media, and Voicemail. The Profile tab is open by default. Detailed instructions for each of the remaining tabs and their features can be found throughout the Help Centre.

Number Details panel

The left-hand panel, titled Number Details, displays the core information for the selected number:

  • Number displays the number in full, without spaces.
  • Type allows you to select how the number is used, for example Voice.
  • Plan allows you to select the plan the number is assigned to.
  • Cost displays the cost associated with the number.
  • Caller Name displays the name presented to recipients when a call is made from this number.
  • Caller Email allows you to enter an email address for the number, with a generate option available beside the field.
  • Comments allows you to enter an internal note about the number for your own reference.

A Save button at the bottom of the panel applies any changes made in this section.

Number Settings panel

The right-hand panel, titled Number Settings, displays the following options:

  • Restricted allows you to restrict the number using a toggle switch.
  • Password displays the password assigned to the number, with a reveal option beside the field.
  • Extension allows you to assign an extension to the number.
  • Group allows you to assign the number to a group.
  • Billing Group displays the billing group the number belongs to.

A Save button at the bottom of the panel applies any changes made in this section.

Was this article helpful?

Let us know so we can keep improving our guides.

Thank you for your feedback!

This form is only for article feedback. If you require assistance, please contact Support. How can we improve this page?

Related Articles

Still need help?

Our support team can help you get connected.