AI Voice Agent
Never miss another call.
Learn more

AI Voice Agent
Never miss another call.
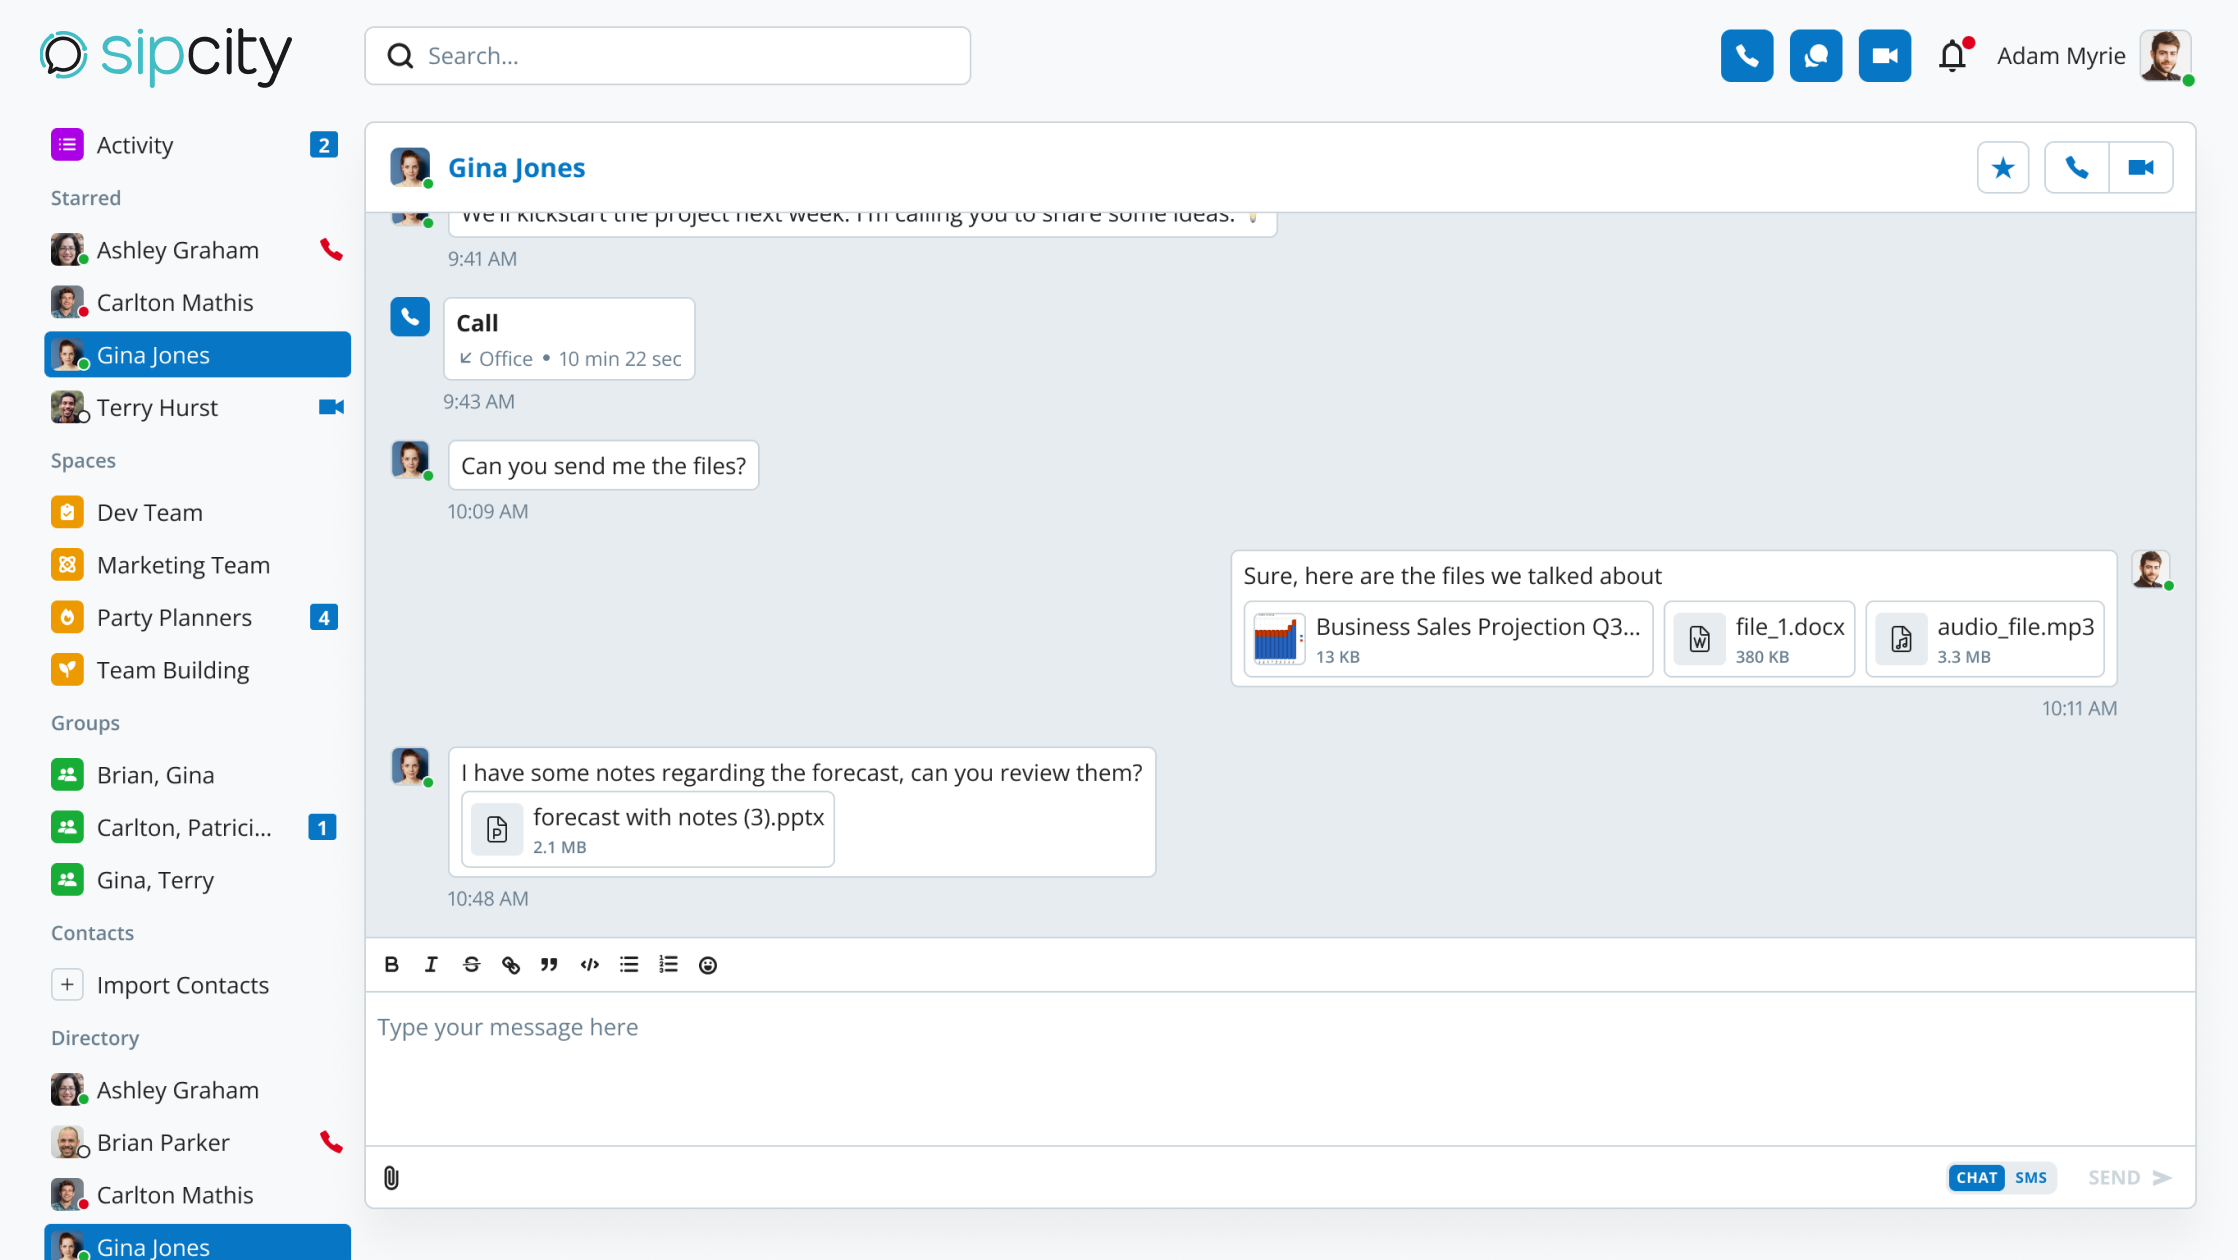
The Web App’s messaging feature allows seamless communication with team members individually or in groups.
Log in to your account.
On the left menu, click Directory.
Search for and click the contact or group you want to message.
Type your message in the chat field.
Click Send or press Enter.
Use the formatting tools to highlight your message (optional).
Edit messages: Hover over your message, click the ellipsis (three dots), and select Edit.
Delete messages: Hover over your message, click the ellipsis, and select Delete. Confirm the action.
All messages show the date and time they were sent or received.
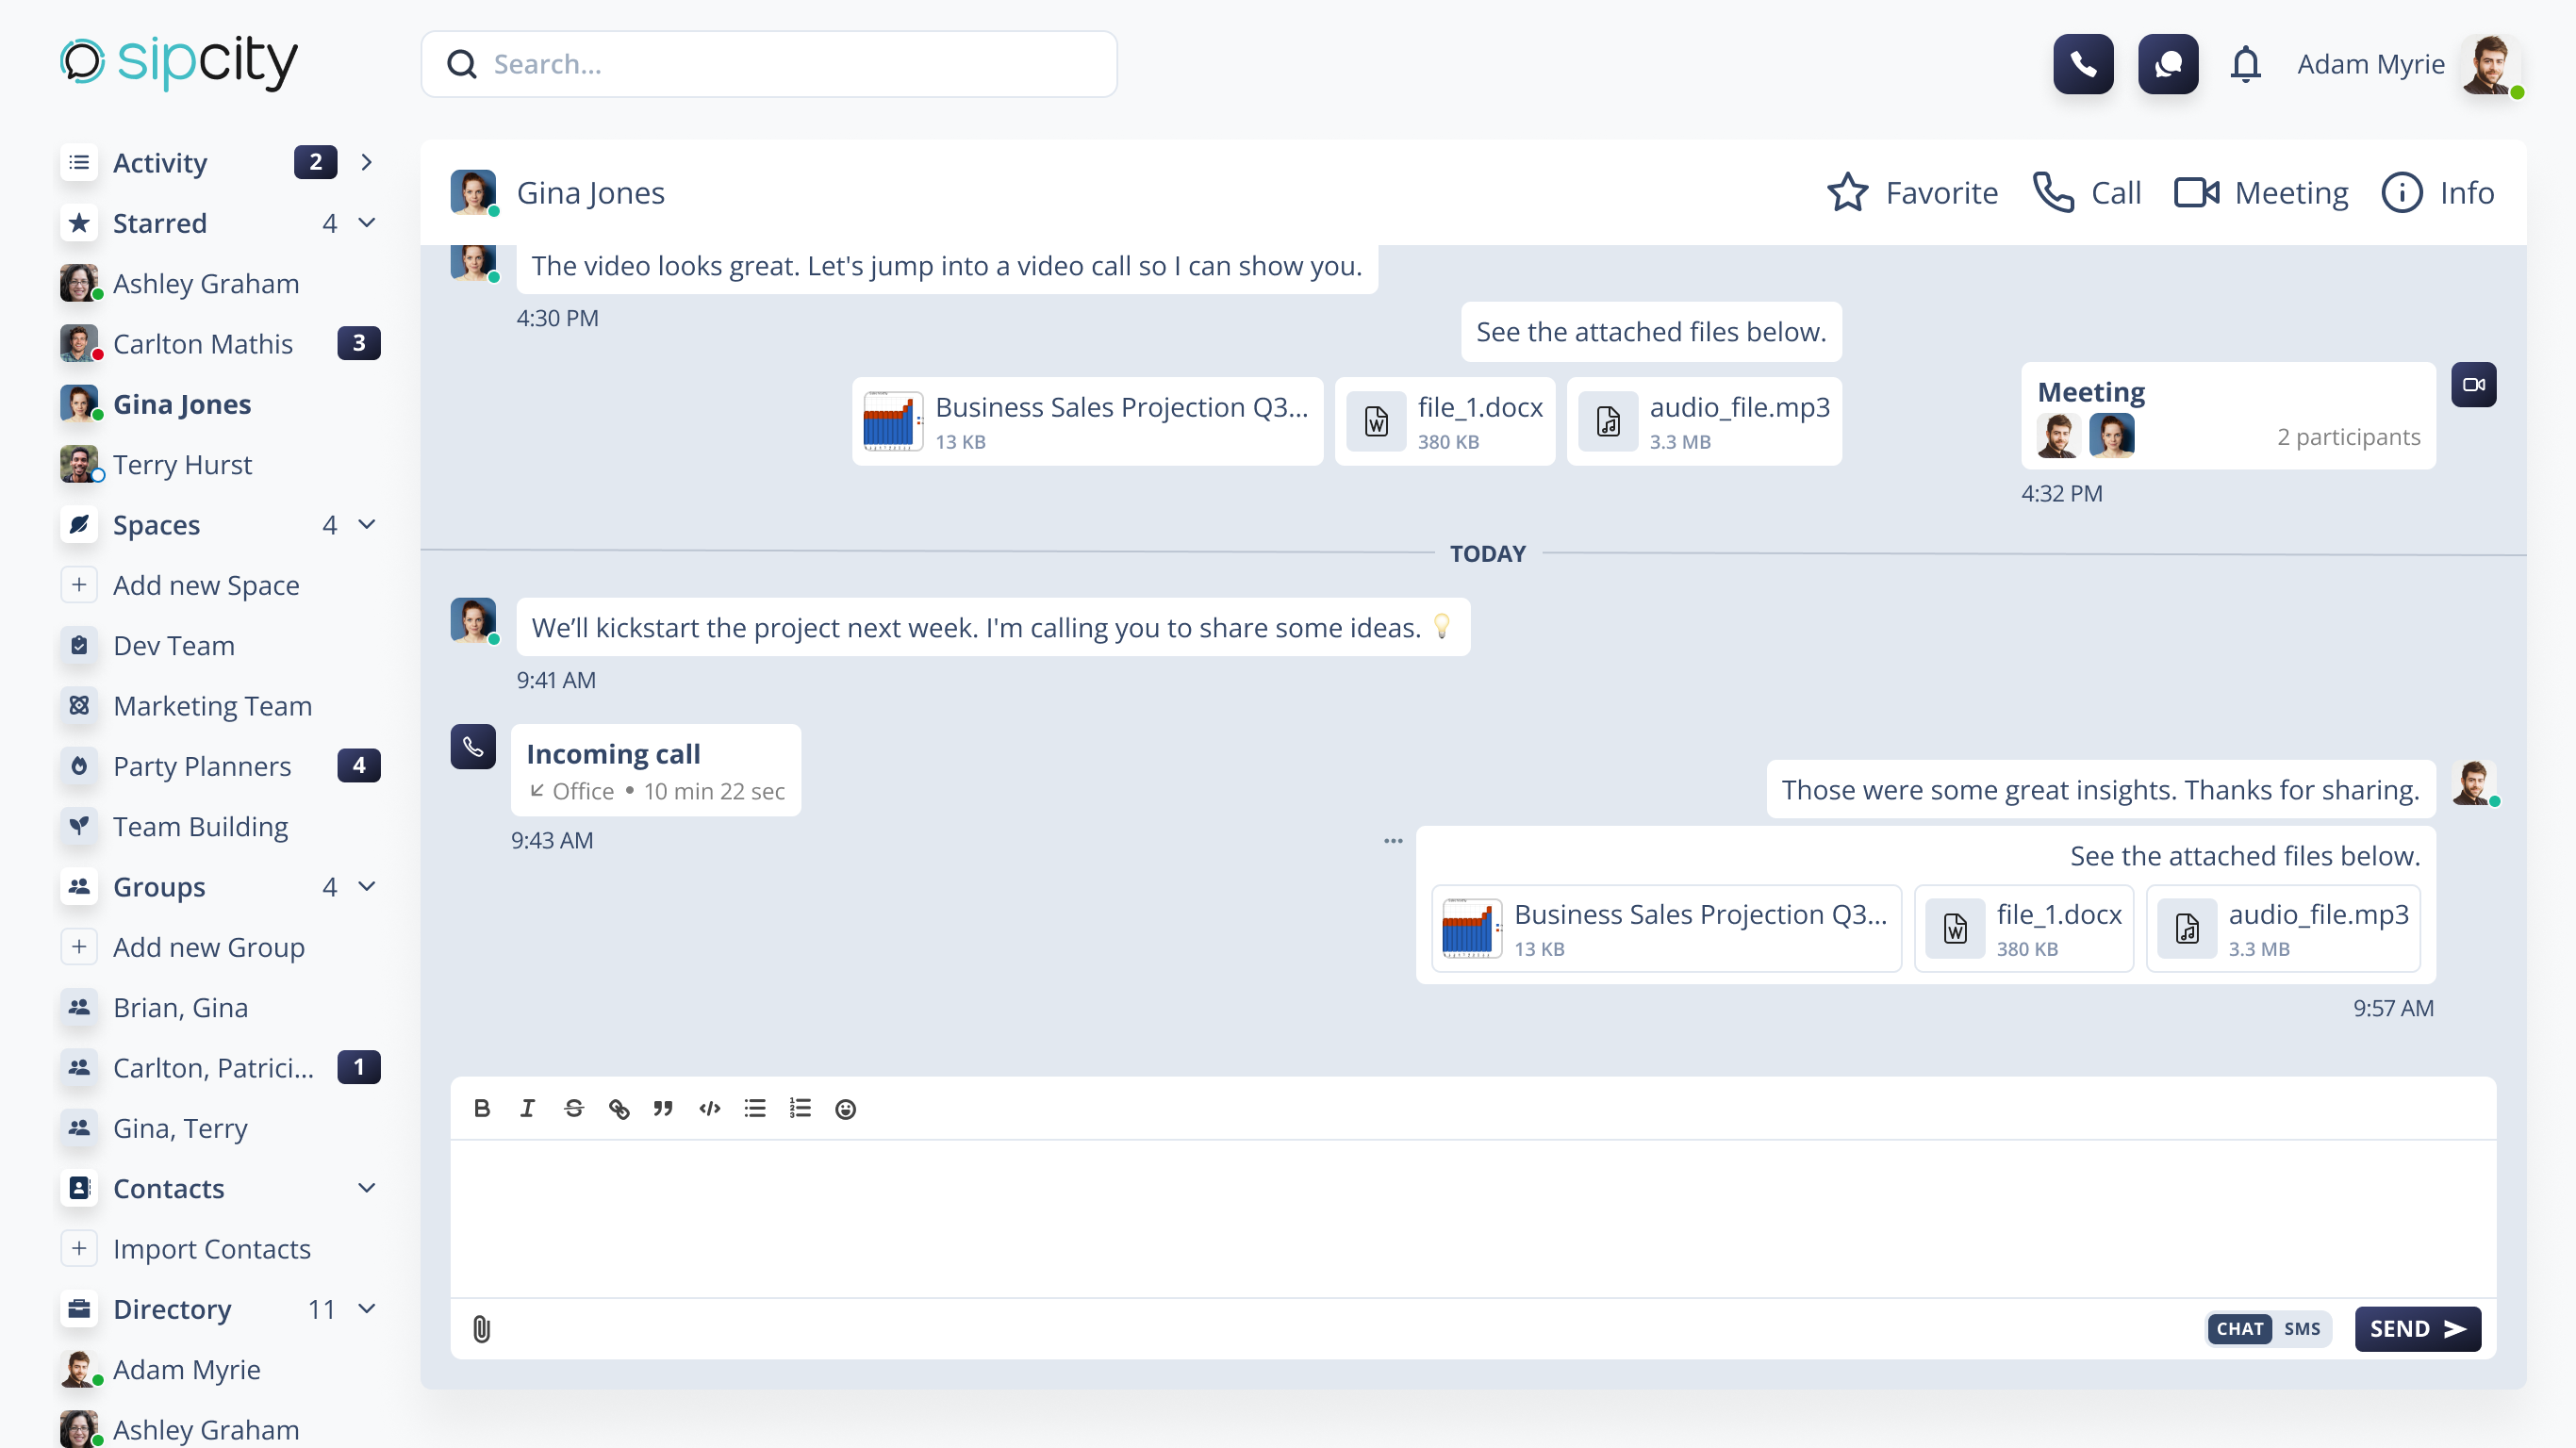
Share files with your contacts by attaching them to messages.
Click the attachment icon to select files from your computer. You can also drag and drop or paste files.
Once files are loaded and the send button is available, click Send.
Note: You can send up to 10 files in a single message. Each file must be smaller than 20 MB.
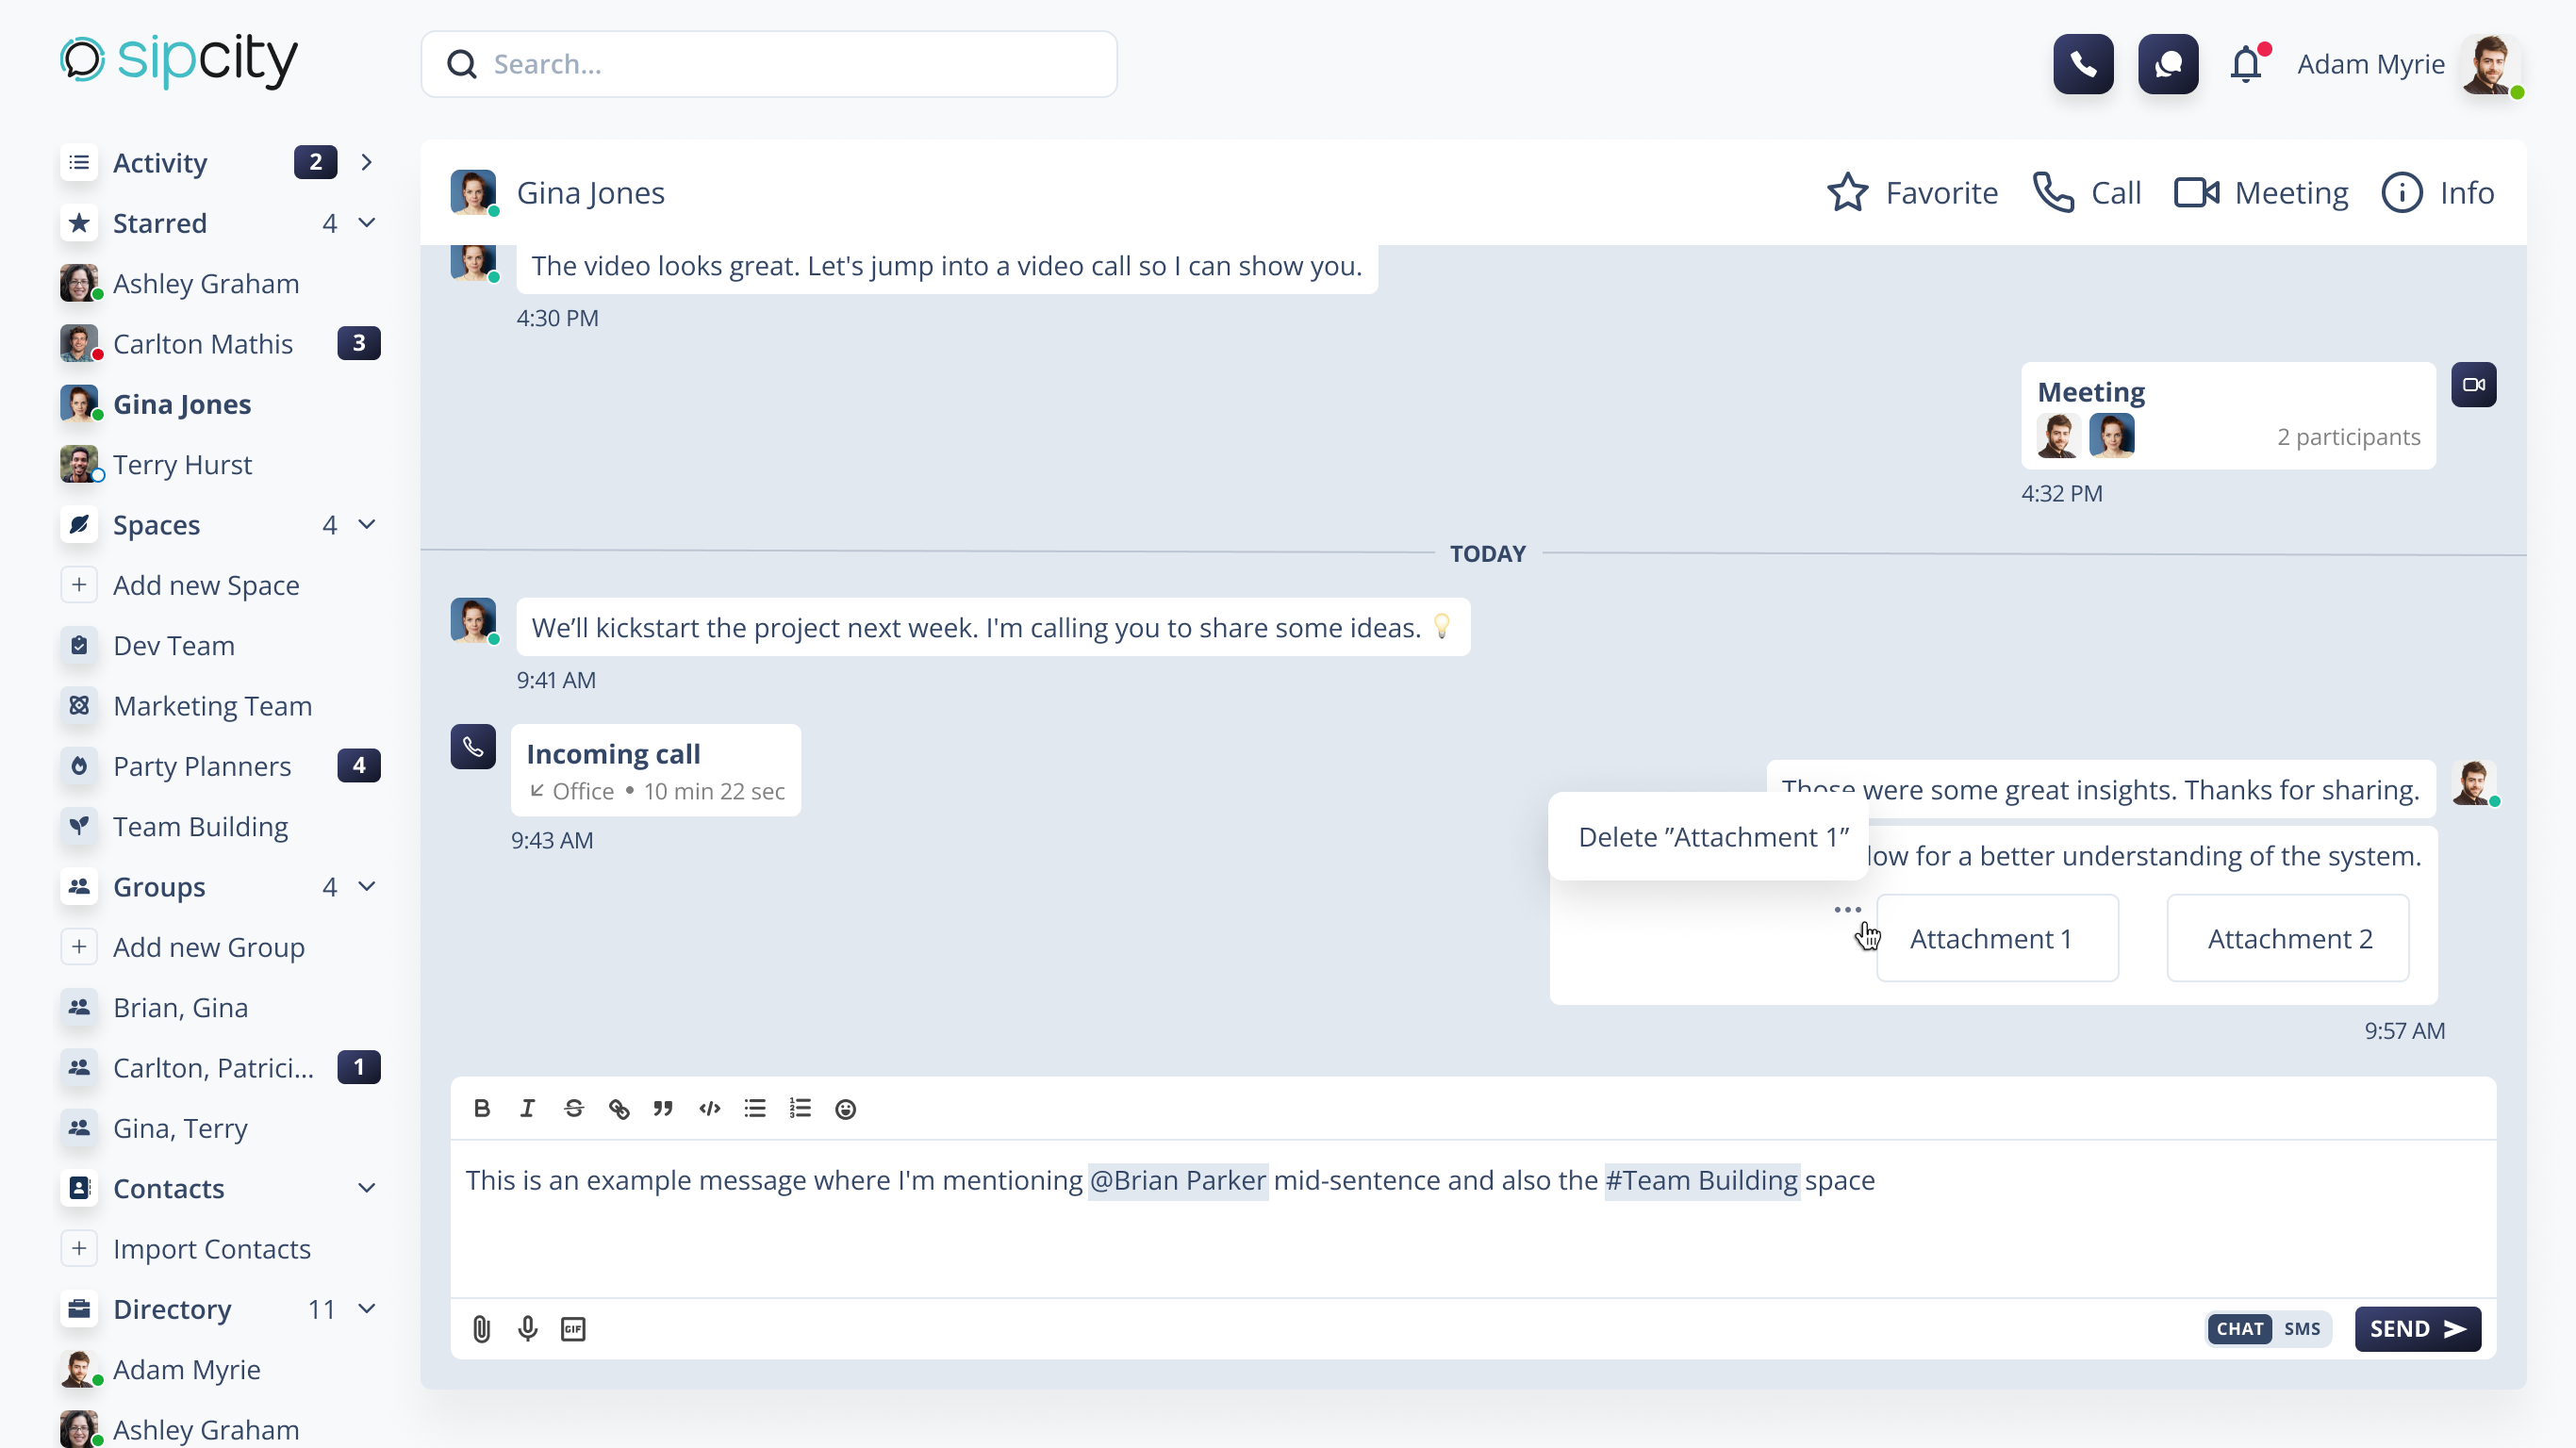
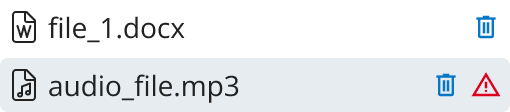
Only the message sender can delete attachments.
While composing: Hover over the file and click the trash icon, then confirm.
After sending: Hover over the message, click the ellipsis, and select the attachment to delete. Deleted files cannot be recovered.
To receive messages promptly:
Enable notifications: Allow browser notifications in your settings to receive real-time updates.
Offline messages: Even if you’re offline, you’ll be notified when messages arrive after you reconnect.
Typing indicator: When someone is typing, their avatar shows chat bubbles (…) in the sidebar.
Download attachments: Hover over a file and click the download icon.
You can give groups an optional name when creating them.
In the sidebar, click Add new Group within the group section.
Click Add to add members, or use the search tool to find them.
Before creation, you can remove participants. Hover and click the remove icon.
A group must have at least three members (yourself plus two others).
Optionally, assign a group name. Click Create Group to finish.
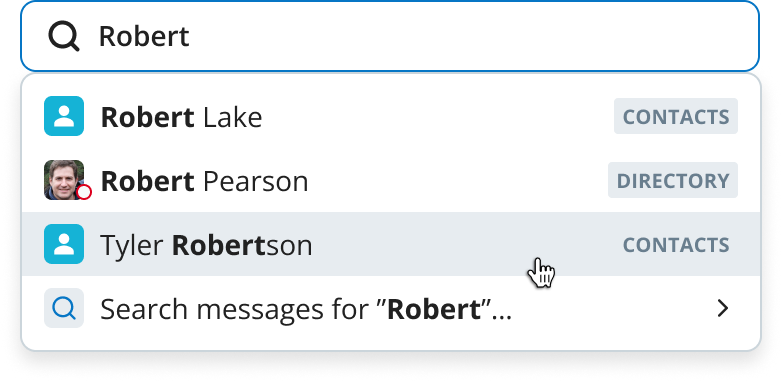
Quickly find contacts or specific messages.
On the main page, locate the search bar.
Enter what you’re searching for.
For contacts, click their name. For messages, select Search messages for…
On the results page, click the message you want. This takes you to the contact’s chat page.
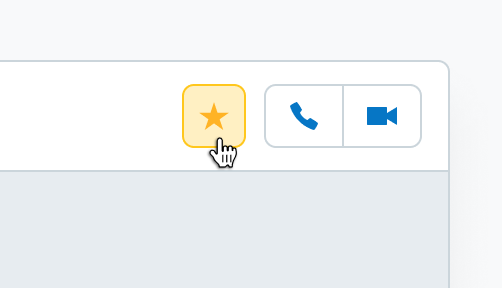
Mark specific contacts as favourites to distinguish key interactions.
Mark as favourite: On the chat page header, click the star icon next to the contact name. The contact appears in the Starred section.
Remove from favourites: Click the star icon again.