AI Voice Agent
Never miss another call.
Learn more


AI Voice Agent
Never miss another call.
Record inbound and/or outbound calls with automatic AI transcription of recorded audio.
Select Switchboard > your number.
Select Advanced > Call Recording > Set Preferences.
Click Save.
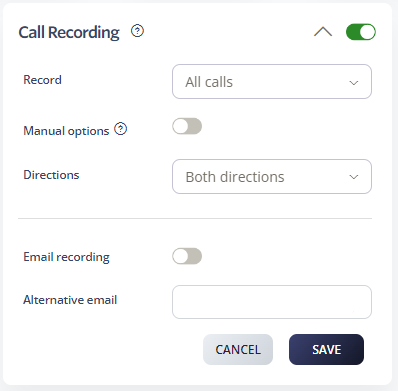
Record: Choose which calls to record.
All calls: Records every incoming and outgoing call automatically. Provides a complete record of all communications.
Selected calls: Record only specific calls based on criteria you set. You must specify the number(s) to record.
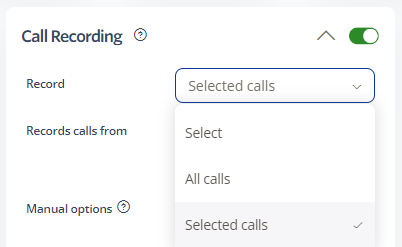
Manual pause: Allow callers to press *3 during a call to pause recording.
Directions: Choose which calls to record: both directions, outbound only, or inbound only.
Email recording: Send a copy to the email in your Personal Details.
Alternative email: Send recordings to a different email address.
AI Transcription automatically converts recorded calls into text for easier review and analysis.
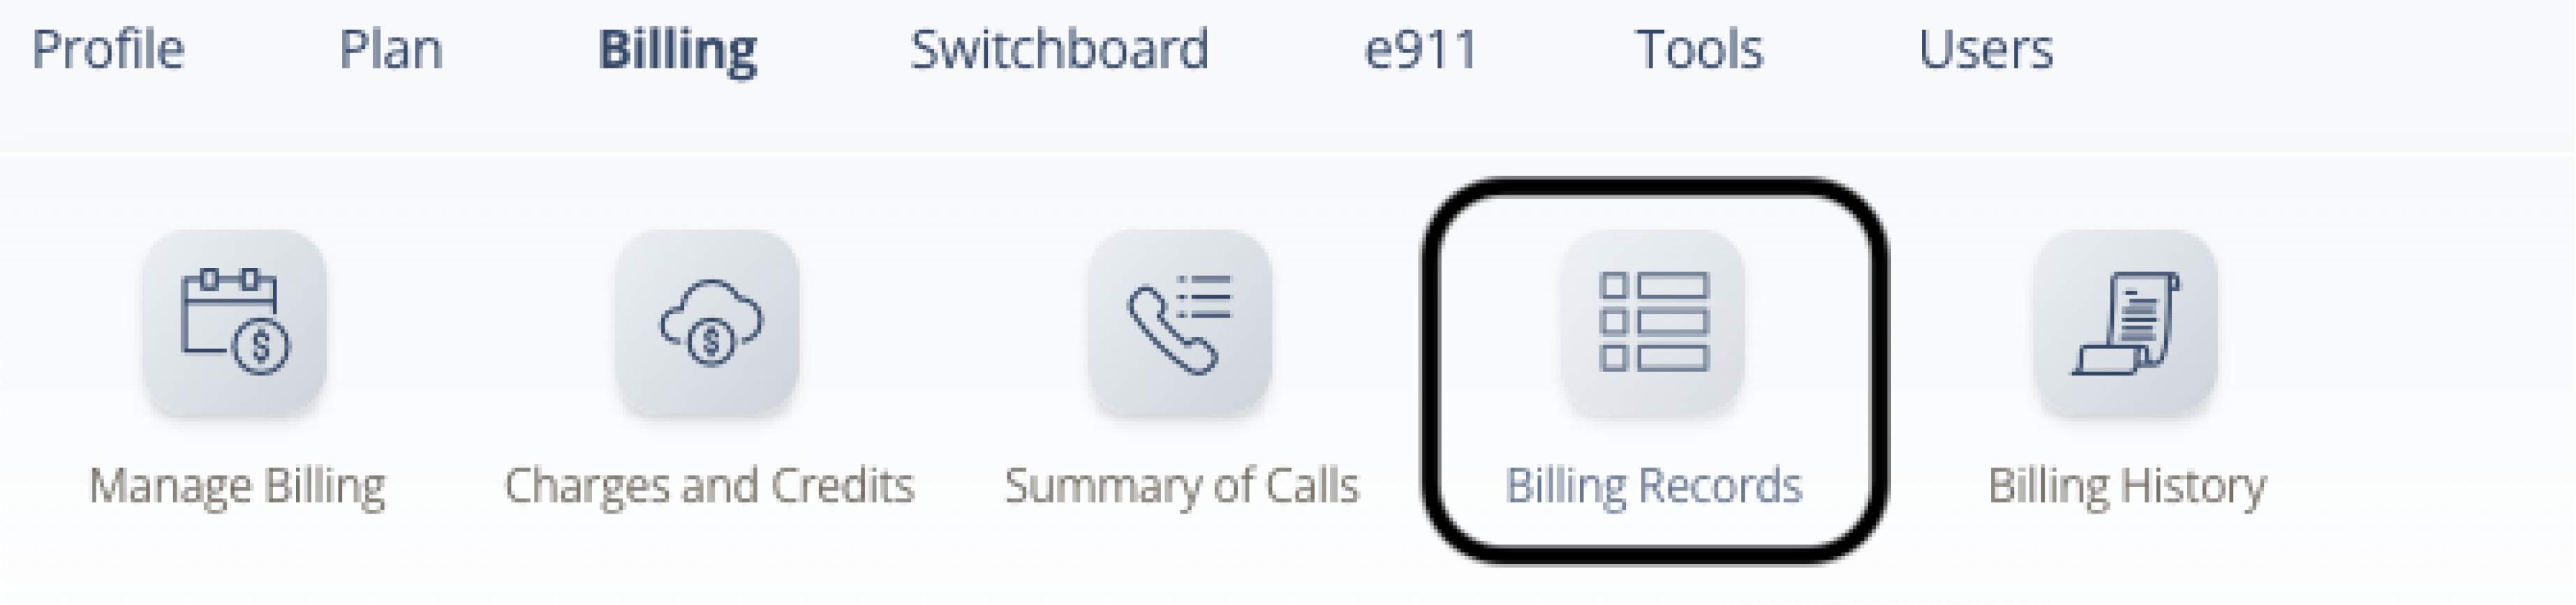
Log in to your account.
Select Billing > Billing Records.
Use the filters to find the call you want, then click Search.
Click the Transcription icon for the call.
The transcription opens for review.
Note: Transcriptions are available approximately 10 minutes after the call ends.
Call Recording must comply with local laws. Ensure all parties are aware that recording is enabled.