AI Voice Agent
Never miss another call.
Learn more

AI Voice Agent
Never miss another call.
The first in a series of four bootcamps to help you fully leverage your SIPcity Cloud PBX. With SIPcity you can manage your VoIP calling and features from within one simple software application. To get the most out of SIPcity, we’ve created four bootcamps:
This bootcamp shows you how to personalise your SIPcity Cloud PBX settings.
Keeping your account’s personal details current ensures you stay on top of all aspects of SIPcity from accounts to settings.
Select Account > Personal details
Fill in or update your details. Within this section you can fill in contact details, billing details, select billing email options, and reset your account password
Click Update details
By now you have entered your credit card details into your account. It is important to understand how and when payments will be deducted from your credit card. There are two separate processes that trigger credit card payments.
If you are on a pay-as-you-go calling plan, each call you make and each service you purchase is deducted from your account balance. If your account balance is $10.00, every time you make a call this is deducted. Once you reach your specified threshold, your account can be automatically topped up with a payment from your saved credit card.
If you do not have automatic top-up enabled, you risk losing the ability to make outbound calls, including any calls forwarded to mobile numbers, which are outbound calls.
If you are on a pre-paid calling bundle, this may not include international calls or calls to 13/1300 numbers. You will need account credit to make these calls. Setting automatic top-up ensures your credit is replenished if you exceed your bundle allowance.
We recommend setting automatic top-up to ON.
You can add numbers to your account at any time. Once added, you can customise the settings and add a device such as a handset or softphone.
Select Account from the top menu — a navigation menu will appear on the left
From the left menu, select Manage numbers
In the bottom section on the Manage numbers screen, click where you can add numbers
Choose the state and region along with the line type (Voice or Fax)
Numbers and channels are charged according to your plan or bundle.
Your account has channels allocated when it is activated. The number of channels is determined by the plan you choose. Each call requires one channel. If you have five numbers but only ever have two calls, you can get by with just two channels. However, if you have five numbers and want two calls plus two calls on hold, you will need four channels.
For channels, consider how many numbers you want and how many simultaneous calls you need:
For information on adding more channels, contact your provider.

Numbers and channels are charged according to your plan or bundle.
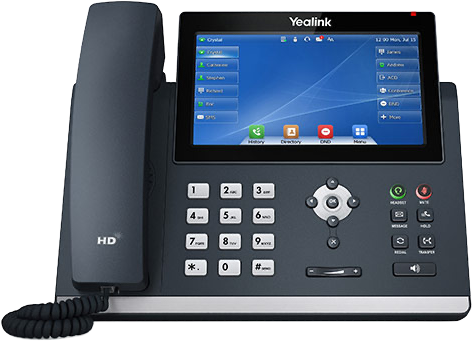
Handsets and softphones are referred to as “devices.” Within this Cloud PBX system, there are several fundamental rules regarding devices:
You can only have one device per number, although you can use your number on multiple devices using the Shared Line feature
Any physical device (handset) must be IP telephony capable
The device connects to a VoIP domain (proxy) which sends and receives your calls. This address should be on your Welcome Email; if not, your service provider will advise you
Connecting your device is referred to as “provisioning”
Auto device provisioning is supported for Yealink and Polycom. Config files for other IP devices may be available from your service provider
This is how you connect your physical device to a number account. Note that this applies only to Yealink and Polycom phones.
From the Cloud PBX menu at the top, click the green Add device button
From the Select device dropdown, select your handset type
Add the MAC address
Select the number to be connected to the device
Enter a label (an internal name only; this will appear on the handset but not on the outbound caller display)
Click Save
Connect or restart your handset and the settings will be uploaded — you can now make and receive calls
You can make and receive calls through a softphone installed on your mobile device, desktop PC, or Mac. This is useful for anyone who travels so they can make calls using a local phone number, and for teams who make lots of calls and want the app set up on their computer.
Install the appropriate app on your device
If your service provider has given you a softphone app, the domain proxy details will likely already be configured. If not, you will need to enter this
Enter your username (your phone number) and password
You will see the phone showing “registered” and you can then make and receive calls
Device provisioning in your Cloud PBX account is not used to set up softphones.
Now that you have numbers set up on your account, you can customise these numbers. This includes:
Setting the Caller ID so outbound calls display your name or number
Adding voicemail messages
Setting up voicemail so messages are automatically sent to an email address
Setting up call recording so a .wav file for each inbound/outbound call is saved
To enable functionality for each number:
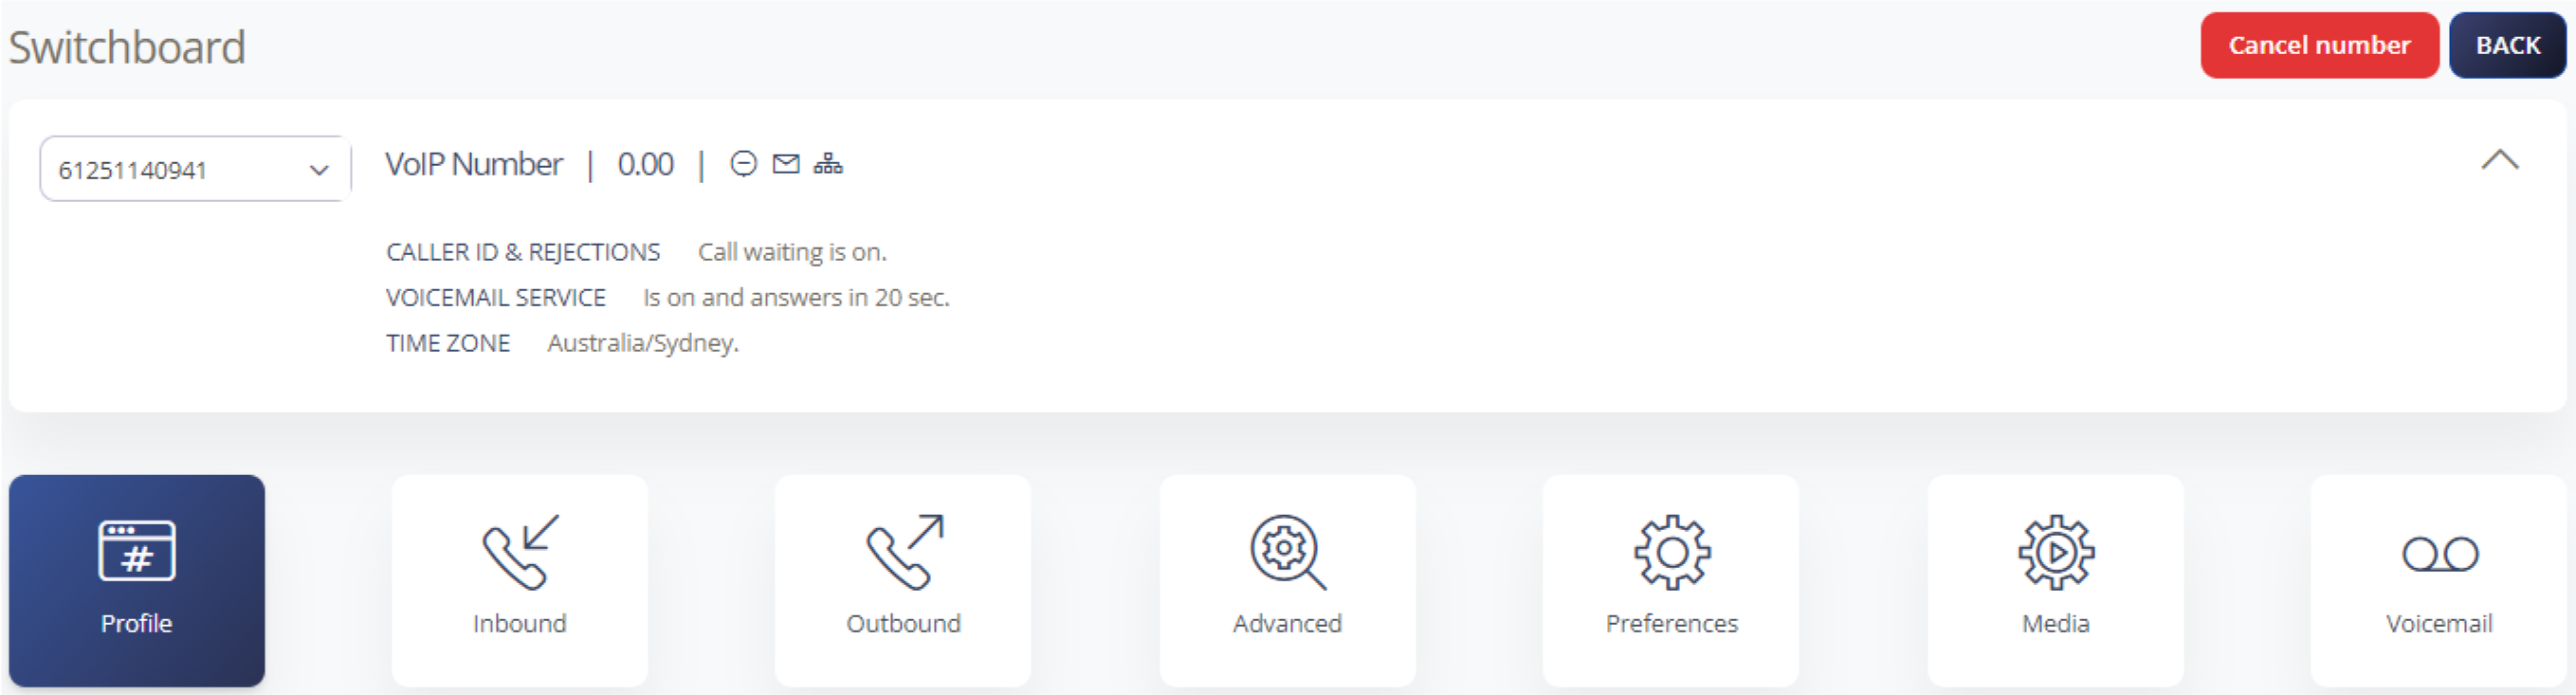
From the main menu, click Cloud PBX and you will see your phone numbers listed
Click on the number you want to update. You will see Messages on the top left menu; this page may be blank unless you have voicemail messages
Click into the menu items on the left (such as Inbound Calls) to update the settings for your number
There is much more functionality to personalise your numbers. We recommend you explore the articles in Manage Your Account and select those features you want to use.
You can assign a phone number to a person and give them access to the Cloud PBX via their own username and password, so they can set up and manage features. This is referred to as a Restricted Number.
You have set a username and password for your account
You are the administrator of your account and use these credentials to access it
When you assign a phone number to a person, they can use their own username and password to manage their number’s features
Restricted numbers should be assigned unique passwords of up to eight characters
Note: Do not use wildcard characters such as #, $, *, or ! in passwords.